quick fixes

Super Quick Fixes if Your Sky Digital Box Has No Signal

Quick Fixes if Your Sky Digital Box Has No Signal

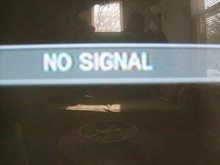
You’ve just sat down after a long day, ready to stick on one of your favourite programmes to kick back and relax…only to find that your Sky Box has no signal.

There’s nothing more frustrating!

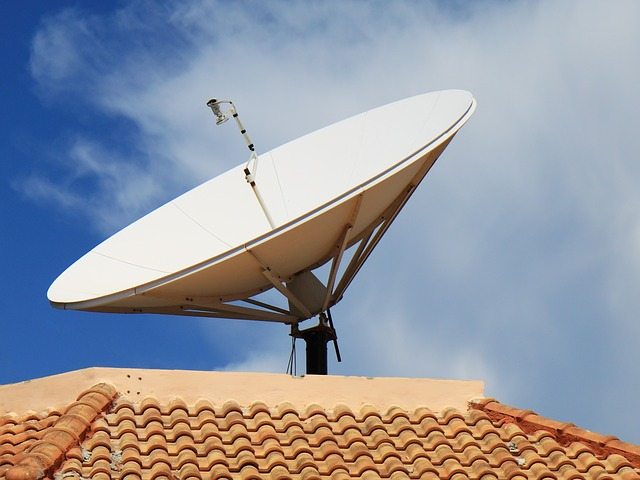
Unfortunately, if your sky box has no signal due to bad weather, there’s not a whole lot you can do. However, there are some DIY quick fixes you can try to fix your Sky Box signal.

Sky has No Signal? Try this first…

First, check that no cables have come loose or disconnected at the back of your box. This is one of the most common problems you’ll encounter when your sky box has no signal, but luckily it’s the quickest fix!

You can also make sure there are no objects that you may have inadvertently placed on a cable.
If the cables are all good, try the following to troubleshoot the problem:

Rest Transponder in Off Mode

Press and hold the Standby button on your Sky remote until the red light indicating ‘Off” comes on, and wait five seconds before pressing the Sky button on your remote.

The light will change to amber indicating the digital box is in the standby mode.

Wait another five or so minutes before going to the next step which is to press the Sky button again. The box defaults to the Welcome Channel (channel 998) which confirms the reset and connection status.

Need Home Appliance Insurance? – Cover for your Sky box & other home appliances Click Here for a quote!

Check the Dish Input Connection

This step will interrupt any recordings that are currently in process. However, saved settings and recorded programmes are safe.

First, switch off your Sky Box and all peripheral devices at the mains and wait until the power light on your digital box has gone out before moving on to the next step.

Unscrew the dish input cables and check for two things:

  • Damage to the cables. Call an engineer if the cables are dislodged from the metal housing or the nozzle is bent or broken.
  • The two separate cable parts must not be touching. Keep the core and the braiding (copper or aluminium sheath) separate at all times. If there’s even an iota of contact, you’ll lose signal.

If the cables are ok, gently push them back into their sockets and tighten the screws.


Check Signal Strength

Checking signal strength is the same of HD and older model Sky Boxes. Press the Services button on your remote and then the 4 & 6 buttons. You’ll get the Signal Test Menu.

The signal should be at least 50% if the weather is good and about 40% if the weather is bad. If you’ve got no signal strength try the following steps:

  1. Switch the Sky + HD box and TV to standby
  2. Wait a few minutes and then switch off all connected items and unplug them from the mains
  3. Disconnect and then reconnect the cables from the satellite to Dish Input 1 and Dish Input 2 at the back of your box.
  4. Take care not to bend the copper wire in the middle of the satellite cable and make sure you secure the connection at the back of the skybox (remember, if these wires are damaged or broken you’ll need to call a Sky engineer to sort them out).
  5. Plug in and switch on all items and check signal strength again

Error message
If you get a message that says, No Satellite Signal is Being Received – Error 25 or Error 29 you can try resetting your digital box.

Switch off the mains and unplug the Sky Box and HD or Standard recorder from the mains supply.

Wait about half a minute and reconnect all the items you’ve unplugged and switch on the mains. Check to see whether you’ve got a signal. If you still don’t have a signal the fault might be in the new Sky mini dish LNB cables, standard LNB cables or coaxial cable.

Check LNB Cables

Check the LNB cables by checking the F-Connectors for tightness; they should be tight, but not too tight. Look for moisture which is harmful to the feeder or LNB. The LNB cable connections must be adequately water-proofed, failure. Adequately water-proofed cable connections will have self-amalgamating tape, other types of tape aren’t sufficient for keeping moisture out of the cable box and LNB over the long term, and will inevitably disrupt signal from the satellite dish.

Try swapping the LNB Cables by unscrewing the cable connectors found on the back of the box, swap them around to check if one of them is faulty.

If this gives you a picture then check the F-Connector on the faulty cable at both the dish and box for a short triggered by the coaxial cable outer braiding touching the cable’s copper centre.

Dish alignment

It’s easy for a dish to be knocked out of alignment by anything from weather to somebody putting a ladder up to clean high windows or check the gutter. If the dish has been knocked out of position you can try to realign it yourself or call a technician to do it for you.

While you’re up there, you can also check the general condition of your dish. It may be badly rusted or corroded, in which case a replacement is necessary.

For a video tutorial on how to cure this problem, please see here;

If you still have problems and have a TV capable of Wi-Fi – why not try NOW TV?

NOW TV is available on demand with single day or monthly passes and can make accessing SKY’s services much easier and cheaper.

Still No Signal from your Skybox?

The problem may lie with the Sky Box itself! Try swapping your box with a neighbour or friend and if the borrowed Sky Box works just fine then you know that yours is faulty and you’ll have to give the Sky helpline a call.

Quick Tips If Your Sky BoX Won’t Turn On

If your Sky digital box won’t turn on or becomes unresponsive, here are some 7 troubleshooting tips that can rectify the fault:

  1. Reboot the Sky Box

A reboot should be your first course of action when attempting to solve technical issues with any device. In the case of the Sky Box, you’ll need to switch off the plugs for the box and all connected devices (either deactivate them at the mains or unplug them). Make sure the power light for the Sky Box is off and that all connected devices are also powered off. Then switch them all back on. Wait about 3 minutes before pressing Sky on your Sky remote. A green light display on the front indicates that your Sky box problems have been resolved.

  1. Power reset

If your Sky digital box has become unresponsive to the remote control commands, turn off the mains of the digital box and the television. Ensure there are no lights in the digital box panel before you switch on the mains again.  As you do so, a red light will appear indicating that the box is in standby mode. Let the box remain in the standby mode for about 5 minutes and then switch on the television and press Sky on the remote. The digital box light should turn green and your Sky welcome channel should appear.

  1. Remote control

Sometimes the Sky Box won’t turn on because the batteries in your Sky remote are getting too weak to work. Replacing the batteries may help resolve the problem. Alternatively, if you have accidentally pressed the TV button on the remote, the Sky Box will become unresponsive.  Press the Sky button on the remote to get the box to respond.

  1. Software update

The digital Sky Box may also become unresponsive if it is overdue for a software update. To initiate the software download, unplug the digital box and press the ‘Backup’ button located at the front panel of the digital box. Without releasing the backup button, plug in the digital box. Keep pressing the button until the lights on the front panel of the digital box flash. You can let go of the button but will need to wait for approximately 10 minutes while the software downloads. Once the software has been installed, your digital box should operate perfectly.

  1. LNB settings

LNB settings determine whether or not your Sky Box can receive satellite signals, so if the box is not responding, it could be due to an LNB fault. Check that you have the right LNB settings. You can access your LNB settings by going to your menu system (press Select on the remote) and choosing the Settings option (it’s the option to the far left, with a spanner next to it). Choose the ‘Advanced Settings’ option; you will be asked for a PIN number (0000 for the older decoders, the first four digits of your account number for the newer models. You can call Sky for help if you don’t remember it). After entering your Pin number, select LNB setup.

  1. Connectors

Check that the connectors at the back of the Sky Box are tightly screwed on. Check that there are no stray wires around the cable connectors.

  1. Panel reset

If the above steps do not work, try resetting the box. (Important: This will delete all recordings in your hard drive). To reset the digital box follow these steps:

  • Turn off the mains
  • Press the left and right arrow buttons either side of the select button on your Sky remote
  • Keeping the buttons pressed, turn on the box again
  • Continue pressing the buttons and within 60 seconds the blue/green circle lights on the box will light up
  • Release the left and right arrow buttons and press the select button twice
  • The blue/green circle lights will move anti-clockwise and the record/ play lights will start flashing on/off
  • When the lights go off, the box is rebooted
  • You will only see the red light on the box
  • Wait for 3 minutes before switching on the box using the remote to see if the problem has been resolved.
Need Home Appliance Insurance? – Why Surewise.com Benefits Reviews & FeedbackGet a Quote


Posted by Surewise in Appliance Insurance Articles

Discover 7 Simple Reasons Why Your Washer Dryer is Leaking

7 Simple Reasons Why Your Washer Dryer is Leaking

It has been one of those crazy days at the office. Then you rush to the shops, managing to arrive just before they close. Naturally, Murphy kicks in with his law again and you hit a traffic jam on the way back. You finally get home. But, just as you’re carrying in the groceries… what the…? Water all over the floor. Great. Just what you need – your washer dryer is leaking.

After laying out every towel in the house in a desperate attempt to sop up some of the soapy Brobdingnagian deluge, you resign yourself to the fact that the load you did this morning to ‘save time’ clearly had other ideas.

Now what?

There are a few reasons why your washer dryer is leaking. Here is a checklist you can run through which may help prevent the next flood. You can fix most of them yourself. But it’s always a good idea to get a professional’s help. It’s also important to remember you can void the warranty on your new machine if repairs are carried out by unregistered professionals.

So, why is your washing machine leaking?

  1. Excessive use of detergent and fabric softener

It’s important to use the correct quantity and type of detergent. Too much detergent in can lead to a build-up of excess foam in the machine. This causes water to leak through various outlets, including the detergent drawer. An overdose of fabric softener can cause similar results.

It may seem silly, but read (and follow) the specified amounts for the size of the load. Pay attention to what the manufacturer considers a small, medium or large load.

Although we all have budgets, you should try to avoid cheap, low-quality detergents, since they are prone to over-foaming. Penny-wise, pound-foolish and all that. You’re unlikely to be happy to have saved 40p on the washing load when you’ve just soaked Nana’s priceless Persian carpet. In the long run, with detergent as with all things, you get what you pay for. Low-cost detergent may also build up in your clothes and in the plumbing of the washing machine itself, causing more problems down the line.
  1. Overloading the machine

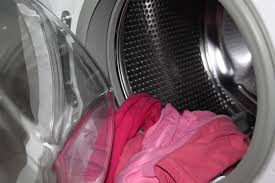
Yes, we all want to save time. It is our most precious resource and there is never enough of the stuff. But putting as much as we can into the machine is a false economy. When the machine is overloaded, the water does not drain properly. Instead it leaks out during the spin cycle. Overloading leads to residue build-up in the fabrics or the machine itself, since the water can’t flow freely. Those white marks on your favourite black jeans? Almost certainly a result of either cheap detergent or overloading.

It will save you much more time and money in the long run to simply load the machine as per the manufacturer’s guidelines with regards to the capacity of the wash drum. Sort of like putting too much food in your mouth and then trying to say ‘football’ – you will not be scoring any goals with any potential mates with that one. And having dirty clothes because of a broken washer is more than likely to have the same effect. Ultimately, as the saying goes, it’s better to “measure twice and cut once” than attempt to cram as much as possible in there.

  1. Leakage caused due to a blockage

Your washer dryer may appear to be leaking even when it is not in use.  This can be due to a leakage in the main water supply, rather than the washer dryer itself. Alternatively, if it leaks at the end of a cycle when water is being pumped out it can also be due to a blockage in the machine’s drainpipes caused by small garments (that is where your missing sock went, in case you were wondering) or, if you have animals, the blockage is likely from the hair left on your clothing. That water has to go somewhere, and it goes back into the washer dryer, causing overflow. This can then cause the water to flood and appear as if it’s leaking from inside the machine.

  1. Leaking hoses

There is a variety of types of hoses used in a standard washing machine. But the most common are the ones that connect your water supply (fill hose) to the water inlet valve and the hose that drains the water from your washer. You will find the inlet water valve hose at the back of your washer (usually). It controls the entry of hot and cold water into your machine. If you notice that the leakage occurs primarily when the tub is being filled, the fill hose may be the culprit.
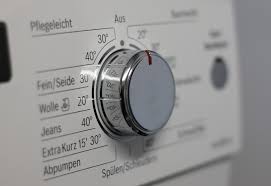
There are fittings that keep the fill hose tightly in place. Make sure that the thread on these fittings has not worn away. You can also obtain very good results from buying some plumber’s tape (also called thread seal or PTFE tape) and wrapping it a few times around the thread before refitting the hose. And you can check that the tap that the hose is connected to isn’t leaking either (this is very common if the washer in the tap hasn’t been changed in a while. It’s a cheap part, but unless you are 100% sure what you’re doing, a leaky tap is best left to the plumber).

If your machine leaks even when you are not using it, it may be that the water is building up too much pressure in the tap. With nowhere else to go to, it will eventually force itself out through the tap mechanism or the thread seal. Try turning the tap off when the machine is not in use.

Hoses continued ….

The other hose that drains the water away is also situated at the back of the machine (yes, it’s not exactly convenient, considering it takes the average person five attempts to get the machine away from the wall). Check that it is properly installed and far enough down the drain pipe. If the leak occurs during the wash part of the cycle, then this hose may be the problem. As per above, also check that there is no blockage in the outlet area of the pipe. It’s also a good idea to check that there are no blockages between the pipe and the drain. If the pipe is full of water, you have found the problem.

Washers also have internal hoses that connect the inlets and outlets to the actual tub of the machine. A worn hose here can also create a leak. You would need to get right into the machine to check these out, so unless you are confident you can lift the main top or remove the cabinet to check if the hoses have degraded in places, it’s best to call a plumber.

  1. Water drain pump

The water pump pumps water down the drain. Essentially, it drains the water from the tub of the machine. It can be belt-driven, direct drive or it could be a completely separate electric pump. It will have an outlet and an inlet pipe. If the leak occurs during the wash and/or drain cycle, it is likely that the water pump is your problem. The problem could be in either of the hoses; for example, the hoses connected to the pump could be loose because the thread on the fitting that tightens the hose to the machine is stripped, or the actual hose could be worn (nearly all waterproof substances are prone to weathering, either due to movement, pressure, or even the friction of whatever is being carried through the pipe).
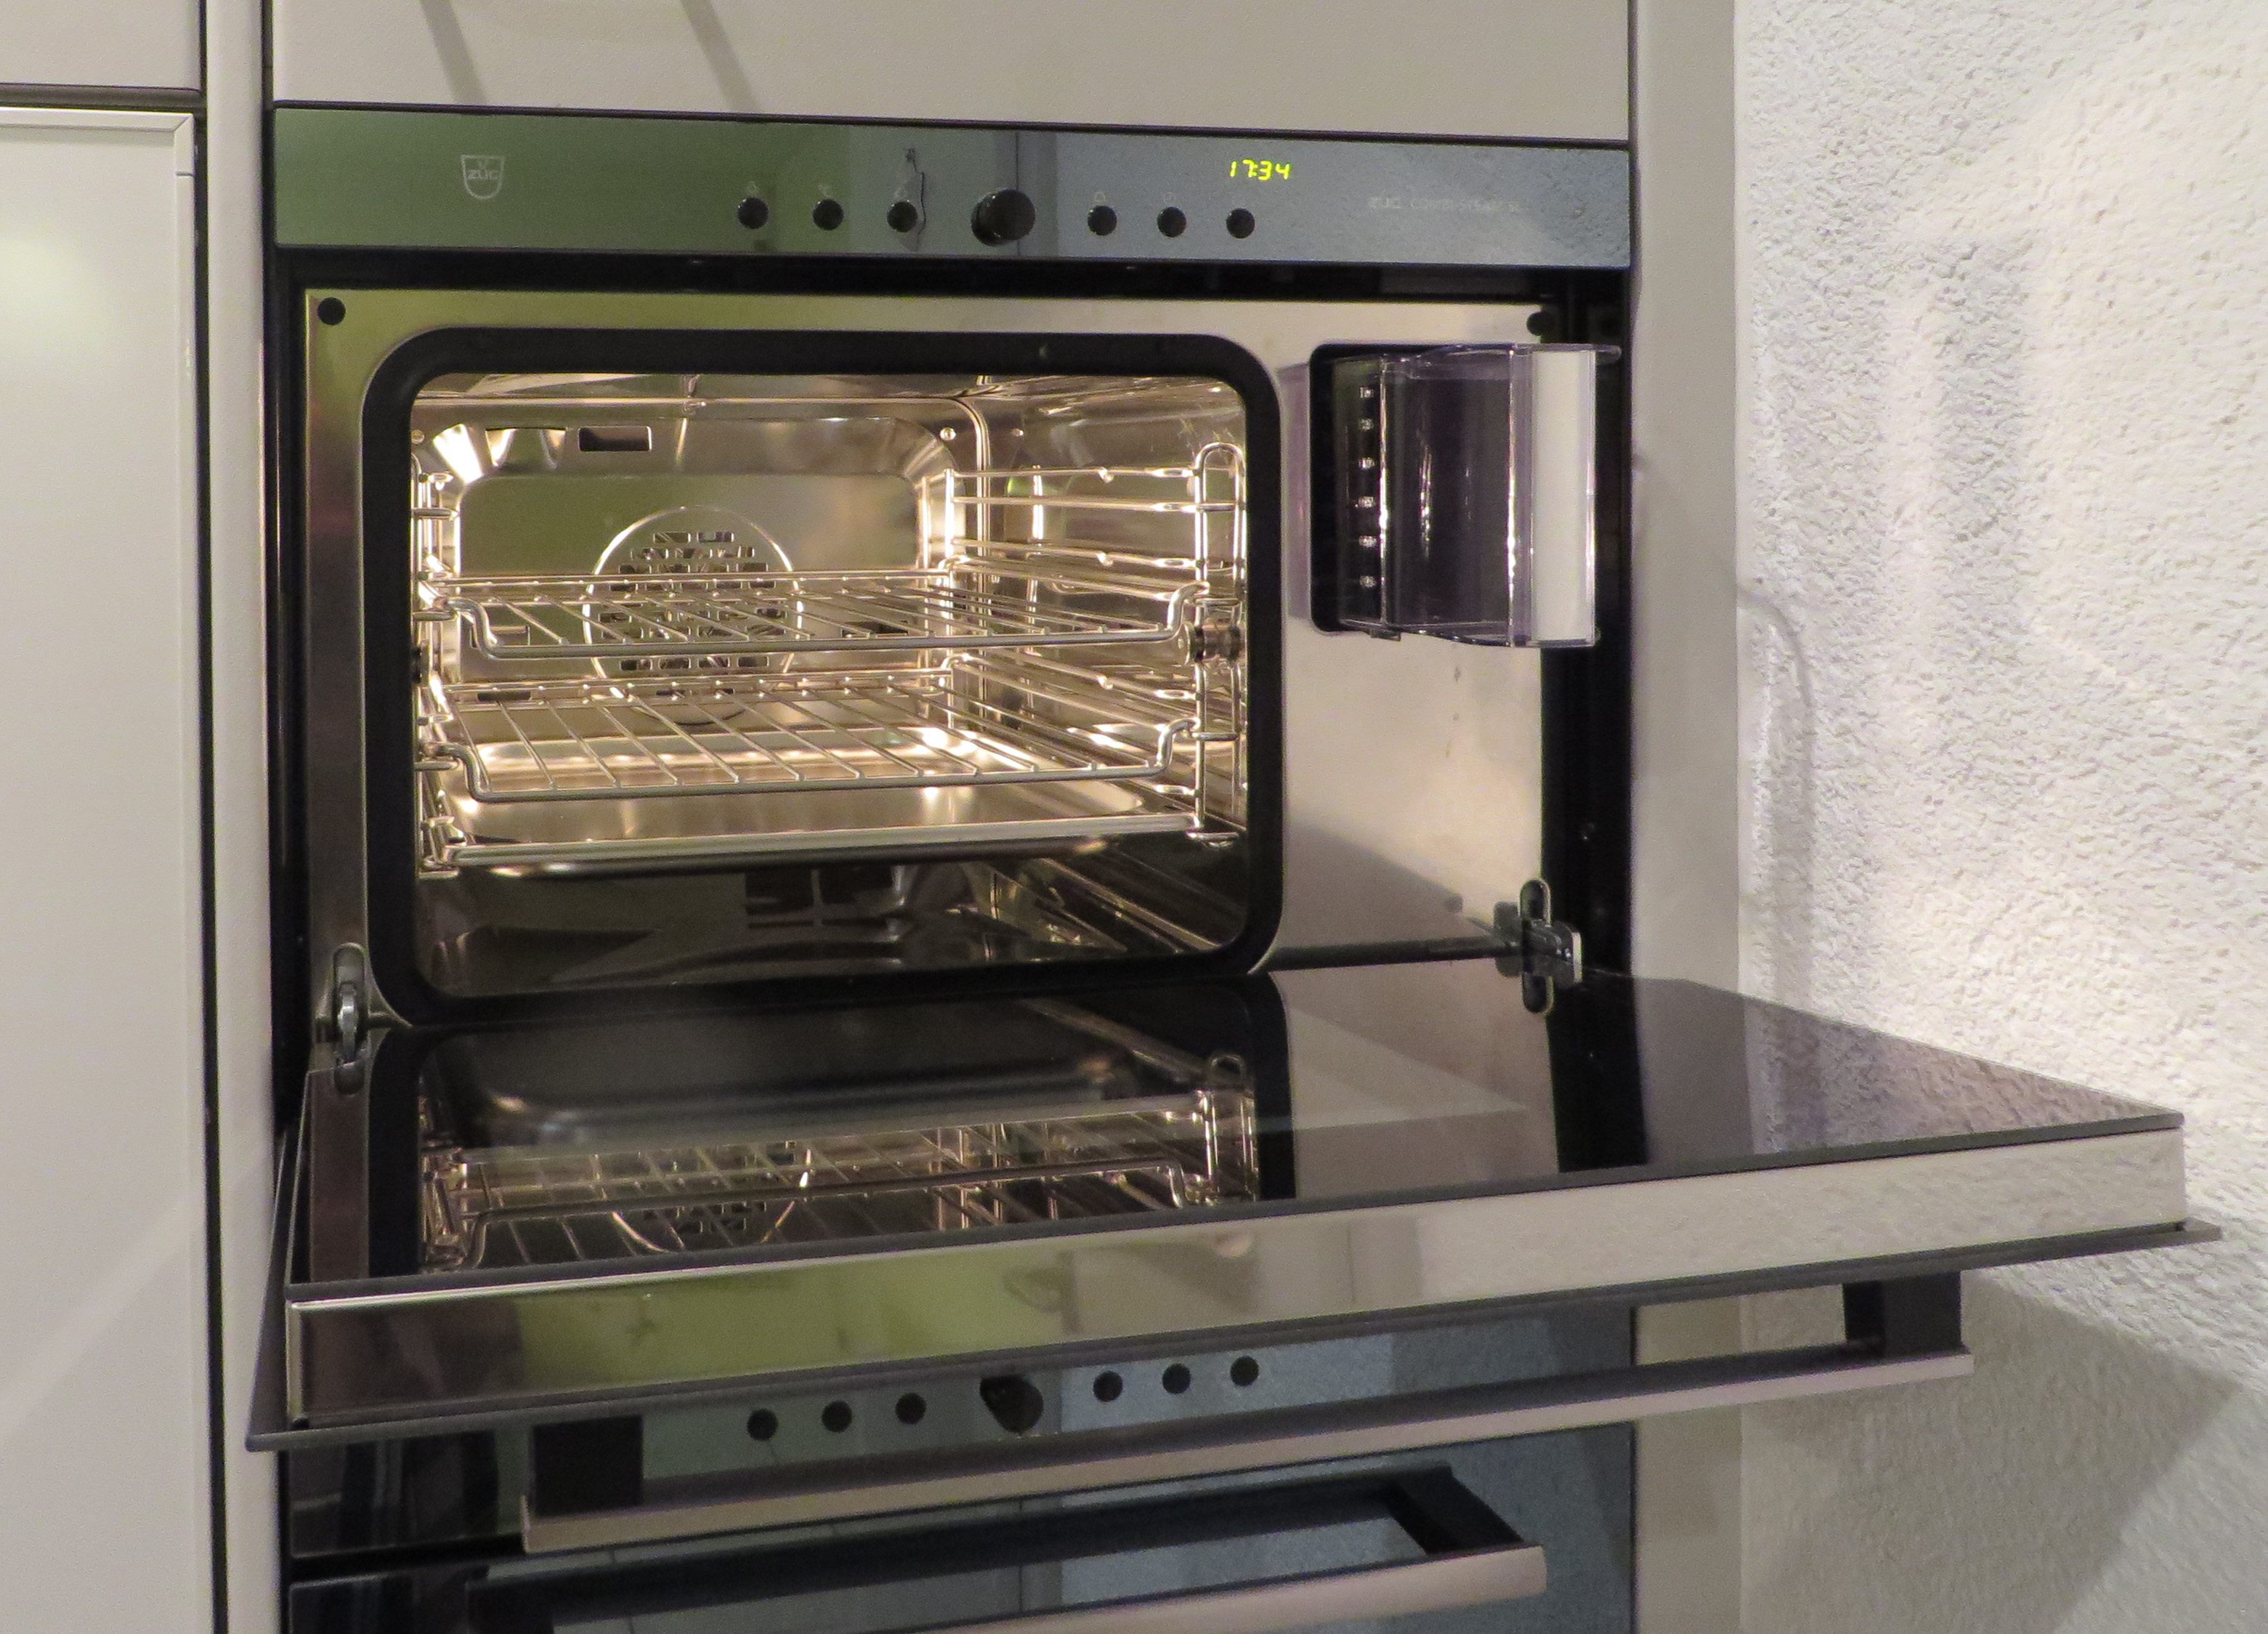
If the connections and hoses seem to be in order, then, again, it is time to call that plumber. If you are brave enough to attempt it yourself, be sure to switch off all electrical power leading to the machine. You may be a bright spark for figuring out what the problem is but you’re likely to look less fetching when you’ve been lightly fried.

  1. Washer is unbalanced

This may seem like a small issue, but because the tub is moving so fast during the spin cycle, it causes a lot of movement. An unbalanced machine can be caused by having heavier clothes on one side of the machine (rare and difficult to prevent unless you group your washing by fabric type, such as putting all your towels in together) or simply because the feet of the machine have not been equally adjusted. This can be fixed by either raising or lowering each foot until the machine is balanced and stable. Remember that it is extremely hard to detect any height differences in a floor and something that may be invisible to the naked eye, like a dimple in the wood or tile, may cause your machine to vibrate. Apart from causing leaking, this will increase vibration and wear on the moving parts.

  1. The manufacturer’s drain plug

This is mentioned in the washer dryer’s manual (yes, it came with the machine when you first bought it. No, it is not written in code). You need to remove the drain plug or the washer won’t drain and will instead leave a nice big puddle. At least it will give you an opportunity to test those new Wellingtons you got for your birthday.

Some Soaps do eventually come to an end…

If your machine looks like something out of an H.G Wells’ book, you may have to face the horrid truth that you have to buy a new one. However, the coronation of your new washing machine could indeed become a reason to throw a party. And with no dirty laundry to be aired!

But please remember…

Appliances should be serviced regularly according to the manufacturer’s instructions found in the product manual. If you have a problem with an appliance, call in a NICEIC or Gas-Safe registered appliance engineer to repair your appliance. Don’t forget that if your appliance is not working optimally, you should also have it serviced to prevent further damage.

Need Home Appliance Insurance? – Cover for all your home appliances Click Here for a quote!
Posted by Surewise in Appliance Insurance Articles

Washing Machine Making Grinding Noises!

Is your washing machine making grinding noises? Here’s what to do

There are several things that cause a washing machine to start making grinding noises, ranging from an improper installation to a failing component. Don’t allow a grinding noise to persist without investigating it. The sooner a failing component is detected, the sooner it can be replaced or repaired, which will save you money and prevent further damage to other parts.

If you’re not insured with us and are the DIY type and are able to repair or replace the part, you could save a few pounds on the cost of the repair man. However, unless you’re sure you know what you’re doing, it’s advisable to call the repair man. If you are covered by our appliance insurance policy, you can sit back and relax because we arrange for repairs on your behalf, and the cost is absorbed by your claim.

What causes the grinding noises?

A grinding noise is commonly caused by a malfunction or failing of one of the following parts of the machine.

Agitator dogs:

These allow the agitator to rotate in one direction and lock in the opposite direction. They’re located in the centre column inside a top load washing machine. They consist of four small pieces of plastic which, over time, wear out and begin slipping, which produces the grinding noise when the machine is in the agitate cycle.

Tub bearing:

It is preferable to replace the complete outer tub and bearing, rather than just the bearing in the tub. Chances are that unless the tub is replaced, it will be the next thing to go.

Tub seal and bearing kit:

If this is the cause of the grinding noise then replace both the seal and bearing kit.

Drive pulley:

Check to see if the pulley is worn out, cracked, loose or bent. Remove it and inspect it carefully. If you see signs of wear and tear you’ve probably found the source of the noise. You will have to replace the part.

Failure of the U-joint:

The u-joint is the primary drive mechanism for the agitation motion. It’s an expensive part to replace, and with the cost of a repair man it might be worth considering a new washing machine.

Clutch assembly:

The clutch assembly is the connection between the transmission and the inner tub. It allows the tub to get up to the correct spin speed. The noise could be a worn out clutch, which makes a loud noise during the spin cycle or just as the cycle completes. The clutch has to be replaced.

Drive belt:

Over time the drive belt dries out and starts cracking. Pieces of the cracked belt break off resulting in a loud noise whenever the motor is running.

It is preferable to have these parts checked by a washing machine repair man, unless you have experience of machines or these parts. Inexperienced tinkering can lead to accidental damage, which in the end will just cost more to replace or repair – it could also negate your insurance policy. So take a look at the instruction manual that came with your washer, identify and check the parts, and then call the repair man.

Need Home Appliance Insurance? – Cover for all your home appliances Click Here for a quote!
Posted by Surewise in Appliance Insurance Articles

Why isn’t My Oven Fan Working? Try our Troubleshooting Guide

Why isn’t My Oven Fan Working? Try our Troubleshooting Guide

Oven ExampleAn oven that’s not heating correctly is one of the most common problems that our engineers are called to resolve. When you switch on your oven, it’s fan evenly distributes the heat generated by the element. A fault in either the fan or the element will prevent your oven from heating effectively. There could be other minor faults as well.

Let’s look at this problem in more detail.

Faulty oven fan element:

If the oven is blowing cold air (which means the fan is working), and the oven thermostat light is on, then the element surrounding the fan could be damaged.

Ask a technician to unplug the appliance and remove the back panel inside the oven. This will expose the oven fan and element. On close inspection if the element appears burnt in some places, then the  appliance technician will almost certainly need to replace that part.

Note, sometimes the damage to the element is not visible, but it could be broken inside the element casing. Your appliance technician will need to confirm this. Replacing the oven element will cost you in the region of £75 – £125.

Faulty oven fan motor:

There could be a problem with the oven fan motor if:

  • the fan appears noisy or works more slowly than usual
  • the oven light is on and the element gets hot, but the heating is ineffective

With the oven turned off and unplugged, the technician will remove the inside panel and give the oven fan a turn by hand. If it appears stiff then the fan motor is faulty and needs replacement.

The technician is also likely to:

  • Check if a fan blade has come loose, which may be causing the fan to become ineffective and make strange sounds.
  • Check if the oven fan is covered with grease and muck from cooking. Giving the oven fan a good cleaning may solve the problem.

Incorrect oven setting:

If neither the fan nor the heating is working, the oven may have been set in ‘auto’ mode. Reset the oven to ‘manual’ mode. Your oven should start working now. Refer to your user manual for more details.

Faulty oven thermostat:

Finally, if the fan is not working and there is no light in the oven, then there could be a problem with the oven thermostat.

Call an appliance engineer to handle replacement of any part in the oven.

Please remember:

Appliances should be serviced regularly according to the manufacturer’s instructions – found in the product manual. If you have a problem with an appliance, call in a NICEIC or Gas-Safe registered appliance engineer to repair your appliance. Don’t forget that if your appliance is not working optimally, you should also have it serviced to prevent causing damage to the appliance.

Need Home Appliance Insurance?Why Surewise.com Benefits Reviews & FeedbackGet a Quote
Posted by Surewise in Appliance Insurance Articles

Why does Your Fridge Freezer Blow its Fuse?

Why does Your Fridge Freezer Blow the Fuse?

Like all electrical appliances, your fridge is vulnerable to the whims of electricity. This means that you can occasionally expect your fridge freezer to blow its fuse. Your fridge’s fuse can blow due to any the following reasons:
  • A power surge causes a temporary increase in the electricity travelling through the circuit. Some fuses are designed to withstand short bursts of high electricity, while others are not.
  • Overtime, the fuse itself may simply weaken.
  • Circuit overload caused by multiple appliances plugged into in the same power source. When the circuit draws too much power, the internal safety system in fuses breaks an internal wire to prevent overheating and possible fire.

Your fridge freezer should generally not cause the fuse to blow. If the fuse keeps going phut then the most likely explanation is a circuit overload.

Read these troubleshooting tips for blown fuses so you’re better informed when you call the technician.

1.     The circuit load

A technician will check the AMP of the fuse connected to the fridge freezer’s circuit. The AMP rating signifies the amount of load that the circuit can handle. To calculate the actual load on the fuse, technicians have to measure the power drawn by all devices/ appliances connected to the fridge freezer circuit.

If the total power drawn by these individual devices exceeds the maximum load that the circuit can handle, relocate some of devices to another circuit to free up some load.

After relocating devices, keep the fridge unplugged for some time before switching it on again.

2.     The electrical socket and power cord

If the above-mentioned process does not work, unplug the appliance and check the electrical socket and the power cord for any damage. An electrician can replace any damaged cords or wires.

Why does your fridge freezer blow bulbs?

The other part of your fridge that can blow is the bulb. The bulb can blow for several reasons, not least of which is faulty bulbs. Cheap bulbs don’t last as long as more expensive bulbs which are better quality. The elements in cheap bulbs are very thin, so any surge in power can make them blow. Even in the world of fridge freezer bulbs, you get what you pay for, so try to buy the best quality you can afford.

If the bulb wattage isn’t the type specified by fridge-freezer manufacturer for your model it could overload the electrical socket and blow the bulb. Always use the bulb specified in the owner’s manual and make note of the wattage.

Another possible cause may be found in the light socket. It may be that there’s an electrical short in the socket itself. The repair for this isn’t DIY as it requires expertise. It’s far better to contact an appliance repair specialist rather than trying to give it a go yourself. This is especially important if your fridge-freezer is still under warranty, since tampering with faulty parts could result in your warranty being voided.

If you need to replace the bulb, the first thing you need to do is switch off the power. Your owner’s manual should contain complete instructions on how to replace the bulb. Once you’ve replaced the bulb according to the instruction manual don’t forget to switch the power back on!

Please remember:

Appliances should be serviced regularly according to the manufacturer’s instructions found in the product manual. If you have a problem with an appliance, call an NICEIC or Gas-Safe registered appliance engineer to repair your appliance. Don’t forget that if your appliance is not working optimally, you should also have it serviced to prevent causing damage to the appliance.

Need Home Appliance Insurance? – Why Surewise.com Benefits Reviews & FeedbackGet a Quote
Posted by Surewise in Appliance Insurance Articles

Discover 10 Reasons Why Your Oven is Overheating

Discover 10 Reasons Why Your Oven is Overheating

Most ovens have traditional thermostats that control the temperature of the oven.  If your oven is overheating on the outside and burning food, the most probable explanation is a faulty thermostat.

However, there are a few other possible causes why your oven is overheating.

Let’s take a look at 10 of the most common reasons for the problem.

  1. Thermostat knob:  A faulty thermostat knob will result in an inaccurate temperature setting in the oven.  The knob should be securely attached. A technician can also recalibrate the knob.
  2. Thermostat-sensing bulb: Conventional ovens have a thermostat-sensing bulb usually at back left side or the rear. If the bulb has come loose from the holder or is damaged, the thermostat will malfunction and overheat the oven.
  3. Grime: Sometimes the thermostat can malfunction because it is covered with food and grime. Removing the thermostat and cleaning it may just solve the overheating problem.
  4. Oven-vent: Blockages in the oven vent is another common problem.
  5. Control panel: Some ovens have an electronic control panel. A power outage can cause a glitch in the control panel. To resolve this, an engineer can reset the circuit breaker and unplug the oven for a few minutes before turning it on again.
  6. Thermostat: Test the temperature of the oven using a heat resistant oven thermometer. If the oven temperature is higher than the level set, then most likely the thermostat needs replacement.
  7. Heating elements: The oven can also overheat if there is a malfunction with it’s heating element. The technician will check for any damage to the element or if the element has come loose.  The outer casing of the element could hide damage to the element.
  8. Temperature sensor: Electrical ovens have a temperature sensor that ensures that the oven functions at the correct temperature. This is a long thin tube like part located usually in the top rear of the oven. A problem with the sensor can cause the oven to overheat.
  9. Selector switch: The selector switch in the oven acts as a communication device between the thermostat and the heating elements. It receives the temperature signal from the thermostat and regulates the heating elements. If the selector switch has a short, it may signal a lower than actual temperature, causing the heating elements to overheat the oven.
  10. Oven fan: If the oven fan is not working at the correct speed, the oven will overheat. To know more, read our ‘Oven Fan not Working Troubleshooting Guide ’.

For safety’s sake

Don’t meddle with the wires and whatnot in your oven to try fix the problem yourself. Rather call Surewise.com, report that your oven is overheating, and let them arrange for an engineer to fix the problem for you. If you meddle on your own, you are likely to violate the terms of your insurance policy.

Please remember:

Follow the manufacturer’s instructions regarding servicing your appliances. You’ll find this in the product manual. If you have a problem with an appliance, call in a NICEIC or Gas-Safe registered appliance engineer to repair your appliance. Don’t forget that if your appliance is not working optimally, you should also have it serviced to prevent causing damage to the appliance.

Need Home Appliance Insurance? – Why Surewise.com Benefits Reviews & FeedbackGet a Quote
Posted by Surewise in Appliance Insurance Articles

Washing Machine Error Codes – What Do They Mean?

Washing Machine Error Codes – What Do They Mean?

The washing machine is one of the most used domestic appliances in any home. However, it may develop an internal problem at any time and display an error code. The error code indicates a technical fault, and to prevent any further damage the washing machine will either fail to start or abort the wash cycle.

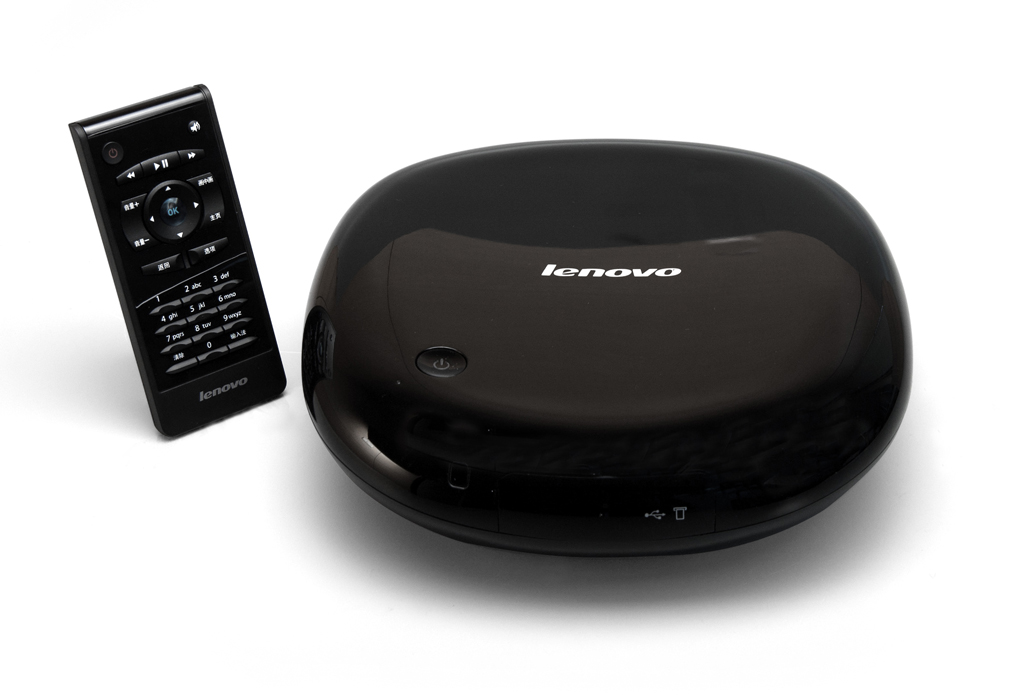
There are possibly thousands of washing machine error codes, with the error code for the same technical fault differing across the numerous washing machine brands. Below are some examples of washing machine error codes *:

Samsung

  • DE error – This means that the door is open. The washing machine door latch may need replacing.
  • Error code 5E – This is a water drain error. There could be a problem with the pump filter or the pressure system.

AEG

  • Error code E 35 – The machine has detected an overfilling problem. This could be due to a faulty valve, a problem with the pressure switch or defective wiring.

Hotpoint

  • Error Code F05 – The machine does not begin the spin cycle because it detects water in the drum, even though the water has been drained. The pressure switch may be jammed or there is a faulty connection.
  • Error code F08 – This means that the heater relay can’t be activated.
  • Error code F10 – This indicates a problem with the pressure switch

Whirlpool

  • Error code FP – This error means drain failure. Either there is still water in the machine, or the machine is receiving the wrong signal that there is.

Some washing machine companies share limited error code information to ensure that only authorised service engineers carry out the washing machine repairs and maintenance. Therefore, depending on the washing machine brand you own, you may find detailed or limited information on error codes.

In the absence of technical information on washing machine error codes, independent engineers will struggle to repair the washing machine. What this means is that you may actually pay more for the repair and maintenance of your washing machine than you would have, had it been serviced by your local appliance technician.

This aspect becomes significant when you consider that a washing machine lasts at least 10 years, and will require regular maintenance checks and three to four repair jobs. So, if you are in the market for a new washing machine then besides comparing the various models on technical features, it is advisable to also evaluate which washing machine brand is easily repairable.

Need Home Appliance Insurance? – Cover for all your home appliances Click Here for a quote!

* Please check your product manual, or contact the company customer service for an accurate explanation of the washing machine error codes.

Posted by Surewise in Appliance Insurance Articles

Why is My Dishwasher Leaving Grit?

Why is My Dishwasher Leaving Grit After a Wash?

Are you baffled by the presence of grit on dishes after they are washed in the dishwasher? This common dishwasher problem has a simple explanation.

When the dishwasher does not clean properly, the high temperature at which the dishes are dried burns the food residue on the dishes. This forms grit or dust like particles on the items washed. The appearance of grit on your dishes may also occur because of short wash cycles, low water temperature, and use of poor quality dishwasher detergent.

Before you call the appliance engineer to look at the problem, try the following dishwasher maintenance steps:

  • Clean the dishwasher filter of any food residue and debris
  • Ensure that you use the right amount and type of detergent as described in the appliance manual
  • Do not use the quick cycle if there are a lot of items to be washed
  • Load the dishwasher correctly, placing the items at the right levels in the dishwasher
  • Ensure that nothing is blocking the dishwasher spray arms
  • Also, check that the dishwasher spray arms are clear and clean

Do not connect the dishwasher to hot supply unless it is clearly marked as suitable for use. Running the dishwasher with hot water will shorten the wash cycle, causing the detergent to decompose too early and give poor wash results.

Run the regular cycle and do not add items in the midst of a wash cycle. If the problem of the dishwasher leaving grit persists there could be a fault with the main recirculation pump. Most dishwashers take in cold water and heat the water to a higher temperature. A heating fault with the dishwasher will also result in poorly cleaned dishes. It is advisable to call the appliance technician for further troubleshooting.

The dishwasher is a wonderful time-saving home appliance. To keep it functioning smoothly, clean the dishwasher once a month and follow the maintenance instructions provided in the product manual.

Posted by Surewise in Appliance Insurance Articles

Is your Blu-ray Player Overheating?

Is your Blu-ray Player Overheating?

Overheating is one of the more common problems with Blu-ray players. If your device is prone to crashing, hanging, or requires frequent restarts, then it could be a result of overheating of the device. This is typically caused by poor ventilation, or heat dissipated by other electronic devices in the vicinity.

The following problems/ symptoms indicate that your Blu-ray player may be overheating:

  • Poor audio quality
  • Choppy playback
  • Device restarts on its own
  • Device crashes
  • Freezes
  • Disc does not play
  • The player is hot to touch (especially the top and bottom panels)

Overheating problems left unattended can cause irreparable damage to the Blu-ray player. If your Blu-ray player is overheating, try the following troubleshooting steps:

Improve ventilation

The most common reasons for your Blu-ray players to overheat is poor ventilation. All Blu-ray players come with ventilation holes that promote air flow in and around the device. Obstruction of the vents raises the internal temperature in the device and causes the player to overheat.

Check if the vents in the Blu-ray player are clogged or if there is any obstruction.

  • If the device is pushed against the wall or cabinet, create some space (at least 4 inches) between the appliance and the obstructing factor.
  • If you find that dust or grime have clogged the cooling vents in the Blu-ray player, use a soft, dry cloth to clean them. Ideally, you should adopt this as a regular maintenance practice to prevent the player from overheating.
  • Raising the height to allow better airflow under the Blu-ray player will also help.

Reduce proximity to other devices

Often we place the Blu-ray player in proximity to other home-entertainment devices such as a television, HD TV box, and amplifiers. However, this is not a great idea, because the heat from these can cause the Blu-ray fan to overwork, and overheat the device. If your Blu-ray is overheating, move other electronic devices located near the Blu-ray player further away. Alternatively, move the Blu-ray player to a dedicated shelf. Avoid placing the player in a drawer, small spaces, or closed cabinets.

Using the Blu-ray player for extended hours can heat it up. Give it a 30-minute break after every 3-4 hours, or use an external fan to cool the device.

If none of these tips solves the problem of your Blu-ray player overheating, we’d recommend getting in touch with the customer support team of the machines manufacturer.

Tip: Downloading regular software updates from the manufacturer will help your Blu-ray player work more efficiently.  

Posted by Surewise in Appliance Insurance Articles

5 Tips to Resolve a Non-Functional On-Demand Box

5 Tips to Resolve a Non-Functional On-Demand Box

All major UK broadcasters offer online programme viewing services. Depending on the on-demand TV service you use, you can view satellite television shows through the internet for up to 30 days after the first broadcast. All you need to view free on demand TV is a high-speed broadband connection.

However, paid on-demand TV services such as BT Vision, and Virgin Media also require a set top box. The on-demand TV set top box is connected to the internet using a mobile internet connector, a broadband router using an Ethernet cable, or in-built Wi-Fi.

If at any time you find that the on-demand box is not working, carrying out the following corrective steps may solve the problem.

    1. Ensure that the broadband is working. To watch on demand programmes, you need to have basic internet speed. Check the exact internet speed requirement in the user manual of your on demand box.  Additionally, if the speed of your household broadband connection is lower than 12 mps, you should consider upgrading the connection, for a better viewing experience.
    2. Check that the on demand box is connected to the internet. Go to the settings option of the set top box, select network setup and test connection. The exact steps for checking the internet connectivity on your box will depend on the model you have.

Ensure that Ethernet cable is connected to both the Ethernet port on the box and on the wireless connector. To check if the Ethernet cable is faulty, connect both ends of the cable to the same router and check if the port lights turn on. If this does not happen, it means you need a new Ethernet cable.

  1. Remove potential interferences in router signal:
    • Check that there are no other electrical devices that use wireless signals around your wireless router (include cordless telephones, fax machines, microwaves, mobile phones)
    • Remove physical objects around the router that may block the signal ( particularly metal and water based)
    • Do not place the wireless router near a window ( the signal strength may be affected by outside interferences)
  2. Manually reset the router. If there is no problem with the network connectivity, switch off the router for about a minute before turning it on to check if the problem has been resolved.
  3. Reset the set-top box. Unplug the power cord for the set-top box.  Wait for a minute before turning it on again. If the problem is not resolved, contact your service provider for further troubleshooting help.

If your set-top box needs to be reset frequently, then most likely the on-demand box is faulty.

Need Gadget Insurance? – Cover for all your gadgets and smart devices Click Here for a quote!
Posted by Surewise in Appliance Insurance Articles