Common Sky Digital Box Faults and Troubleshooting Tips

Does your picture jump, or is it blurry? Do you have ‘snowflakes’ falling down your screen? Have you lost all colour except black and white, or has everything suddenly gone rainbow-coloured? Perhaps you have no picture whatsoever? Do these problems occur intermittently or do you experience them on a semi-permanent basis?
Before you throw up your hands in despair and toss out your entire Sky box system, here are some pointers that might sort out some common Sky box problems.
Switch Channels
It may be that the problem is specific to one channel, so first try another channel to see if the problem persists. If the other channels are fine, wait a couple of minutes before changing back to the problem channel. If all is well, then it was probably just the ‘ghost-in-the-machine’, but if you’re still not picture perfect, it could be a network coverage issue.
Bad weather conditions affect the satellite signal, and this can reduce picture quality. If the wind is howling outside, this could be the root cause of the issue, in which case the best advice is to just wait out the storm. However, if the weather’s fine, you could try checking the service status. There may be a network outage in your area, in which case you will still simply have to wait that out too. If the weather’s fine and there are no reports of a network outage in your area you could try rebooting your Sky box and checking a couple of connections. This is a common sky box troubleshooting technique that can solve the majority of faults.
How to Reset your Sky Box
- Start by pressing the standby button on your Sky box remote. For models with recording capacity, wait for the Hard Drive to stop spinning (it should take about a minute or so).
- Switch off everything, including your Sky box, TV and all connected peripherals and devices.
- Switch off the mains and then disconnect the Sky box (make sure that all the lights are out). DON’T take the small plug out of the power socket at the back of the Sky box, and be careful not to touch this plug while the cable is live because you could cause an internal fuse to blow and do major damage to the internal circuits.
- Check the rear panel of your Sky box for loose or disconnected cables. Pay special attention to the HDMI and SCART cables, they should be firmly attached at both the TV and Sky box ends.
- Wait five minutes and then switch everything back on for a straightforward Sky box reboot. The lights will come on after a few minutes, but if you want to download the latest firmware, skip this step and move to step 6. Note: this should only be done if your Sky box hasn’t updated for a while. Also, this step must NOT be done if the signal is missing or problematic.
- On the front panel press and hold down the Backup button and switch on the power at the wall socket
- Keep holding down the Backup button until the front panel LED light comes on.
- Wait until the Sky box changes to Standby (this should take about 10 minutes) and then reboot your Sky box again, without holding down the button.
Now press Sky on your remote and check back to the faulty channel. If the problem persists, then there may be something faulty with your LNB, which is fitted at the end of the dish arm.
LNB Check

LNB issues are rare, but they can happen. You could test your Sky box in a neighbour’s house to see if it works with their dish. If it does, and you’ve checked your own cables and connections, then you could be dealing with an LNB issue.
Note that each satellite receiver has its own feed from an LNB and some satellite receivers (including Sky+, Sky+HD and the Foxsat Freesat) have two tuners. They allow you to record one channel while watching another. So you need to have two feeds from the LNB. While you’re checking the LNB you may as well check your dish using a satellite alignment meter.
- First check the F-connectors at the dish and Sky box for moisture or water damage, and replace the coaxial cable feeder, connectors and LNB if necessary.
- The cable between your dish and your satellite receiver needs to be satellite grade PF 100 or PF 125. The coaxial cable’s central core should be higher and stick out a bit above all the F-connectors.
- The coaxial cable feeder to your Sky Digital box or Sky+ HD box might have shifted during a windstorm, especially if your cables run over the ridge of your roof, or were badly installed. Make sure the cables are intact and firmly in place.
- Check for a wall plate, check the connections and make sure that it’s a fully-screened plate. Gently unscrew the LNB cables at the dish and look for corrosion. If you see a bright shiny copper wire, all is good. A suggestion to prevent corrosion: Apply some silicone grease to the copper wires carefully before screwing back together again.
No satellite signal
The most common reason for issues with your Sky satellite dish signal is bad weather. However, if this problem occurs during normal weather conditions, it could be due to any of the following four reasons:
- Loose connection in the Sky digital box
- Problem with the signal strength
- Incorrect settings
- Lack of memory in the recorder
Read our post “Super Quick Checks if Your Sky Digital Box isn’t Receiving Signal” for troubleshooting tips on solving this problem. Also, ensure that the Sky satellite dish installed in your home is correctly aligned.
Sky HD box stuck in ‘Standby’

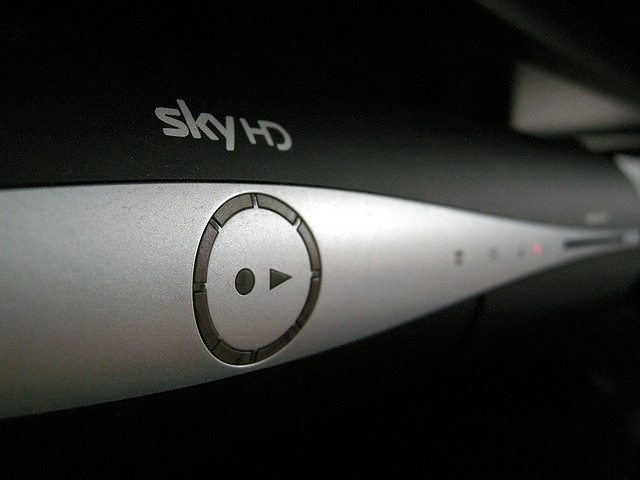
If the red light on the front of your Sky box is on, but you are unable to receive the green light that indicates the box is active, this is described as being ‘stuck in standby’. Try the following:
- Turn off the box mains
- Wait a few seconds after the power-light of the box has gone off
- Turn on the box and the standby light will be amber
- Wait for another 2 minutes before starting the box using the Sky remote
If this does not work, try resetting the box. (Note: This will eliminate all recordings in your hard drive). To reset:
- Turn off the mains
- Press the left and right arrow buttons either side of the select button on your Sky remote
- Keeping the buttons pressed, turn on the box again
- Continue pressing the buttons; within 60 seconds the blue/green circle lights on the box will light up
- Release the left and right arrow buttons and press the select button twice
- The blue/green circle lights will move anti-clockwise and record/ play lights start flashing on/ off
- As the lights go off, the box is rebooted
- You will only see the red light on the box
- Wait for 3 minutes before switching on the box using the remote to see if the problem has been resolved.
Freeze frames
If you’re only encountering freeze frames on certain channels, it may be because those channels are broadcasting at a weaker frequency, in which case you may have to purchase a larger Sky satellite dish in order to receive feed from those channels. This also applies if you get the “no satellite signal” error message on some channels but not on others.
However, if you are encountering a problem of freeze frames across all channels, then try resetting your Sky digital box or updating the software. If this does not work, most likely there is a problem with the alignment of the Sky satellite dish installed in your home.
Digital-box maintenance tip: Sometimes inadequate ventilation can lead to overheating and technical faults in the Sky digital box. Ensure that you do not put anything on top of the digital box.
Other problems and tips
Some problems may caused by some insects who’ve found a nice cosy home inside your LNB feed horn. Remove the plastic cover (be careful not to damage it) and look for nests, webs and any other signs of infestation that may be the cause of your picture problems. Clean out the nest or debris carefully using a small, soft paintbrush and place some mothballs nearby to prevent future infestation.
DECT wireless telephones or Snooper radar detectors in vehicles parked close to your yard could also interfere with your picture quality; normally only a few channels are affected. You could try positioning your dish so that it’s out of the line of sight.
HDMI leads are not screened so you need to make sure you don’t bundle them with other cables. Keep them separately routed away from your other cables and equipment.
